
Hello everyone!
In this post I want to talk to you about photographing bridges.
Wait… What??
Why would you want to photograph a simple bridge?
Well, that’s easy, because bridges are in most cases the work of talented architects who came up with some of the most amazing structures out there, and they serve several purposes imo.
The first reason is of course to make sure that traffic, be it pedestrians, cyclists, cars, or trains, travel from one place to another, usually crossing a river or another road.
But the architect also makes sure that it fits well within the skyline of the city or town, and that it really stands out on its own.
One of the most amazing bridges I have seen and was fortunate to photograph is the Pont de Normandie in France, which connects Le Havre, which is a large port in the north west of France, to Honfleur, which is an amazing port city in Normandy.
Just before you drive over the bridge, coming form the side of Le Havre, there is a large toll station, where you can also get of the road and visit the exhibition of the bridge.
You can walk up a few stairs to a walkway above the road and get an amazing view of the Pont de Normandie, and this is where I took the below photograph. My settings for this shot were 1/250 sec, ISO 125, F 11, at 200 mm focal length.
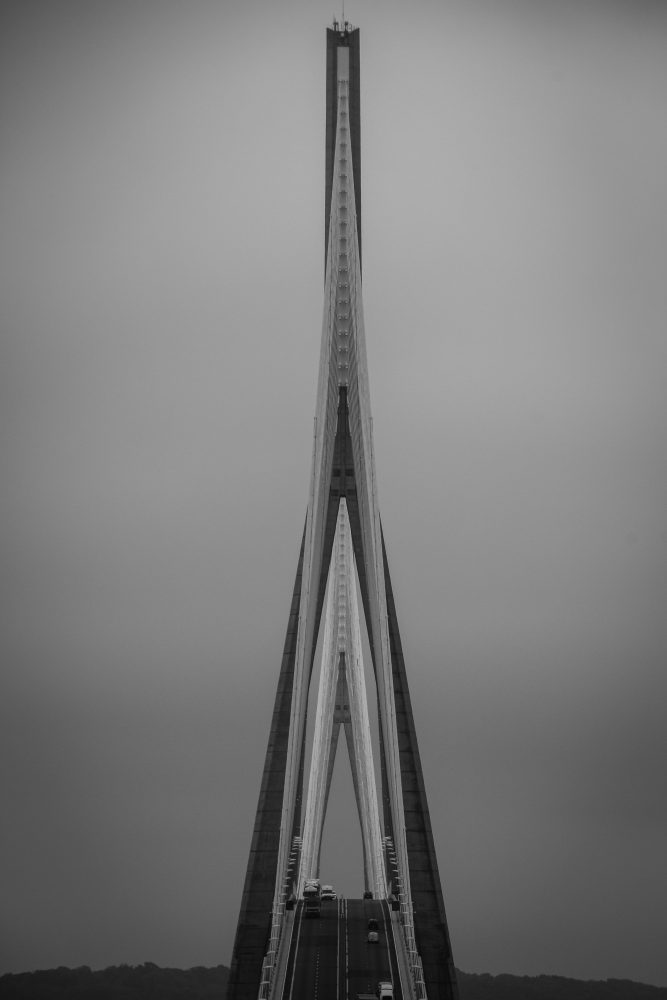
The bridge is over 2 km long, 215m high, and ships up to 52 m high can pass under it. So its frigging huge! So if you plan to travel to Normandy France, and want to get an amazing view of this bridge, make sure you stop at the exhibition.
Plan your stop in advance though, because you might just pass the toll booths, and than you are too late to take go to the exhibition. Use Google maps to plan your route and stop.
In the below google maps you can see the actual stop.
Another bridge I love to photograph is of course the Erasmus bridge in Rotterdam, which is close to where I live, so its easy for me to go there.
I really love the shape of the bridge, which is nicknamed “The Swan”, and its a real eye catcher imo. It truly stands out against the amazing backdrop of the city of Rotterdam.
I shot dozens of photographs of the bridge and every time I try to shoot the bridge from another perspective, creating new compositions.
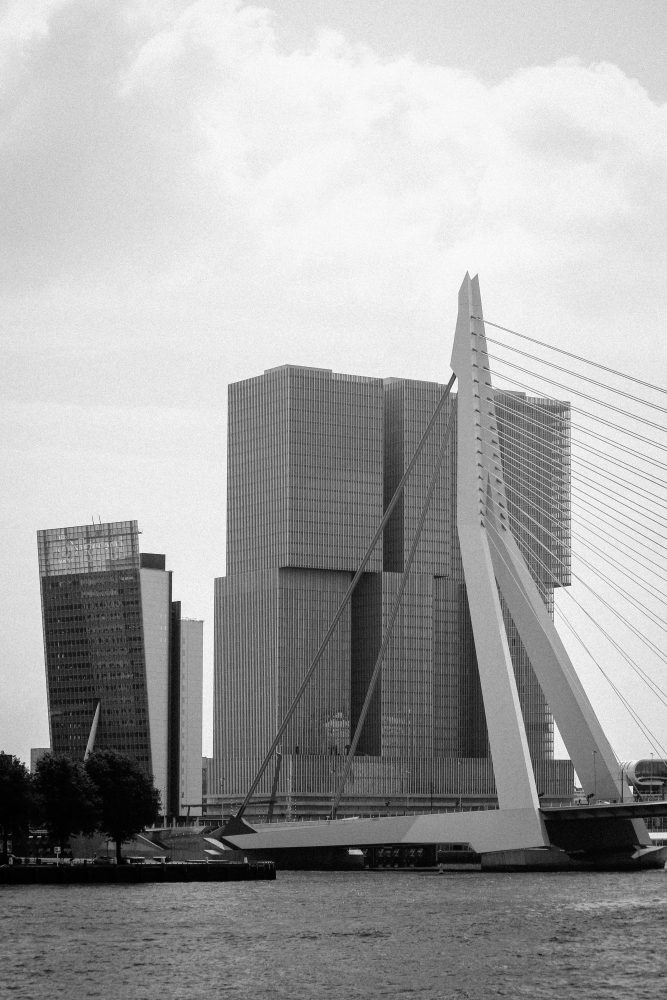
In the above photograph you can see your regular shot form the bridge, so I try to work the shot more, which simply means, try out different views and positions and compositions.
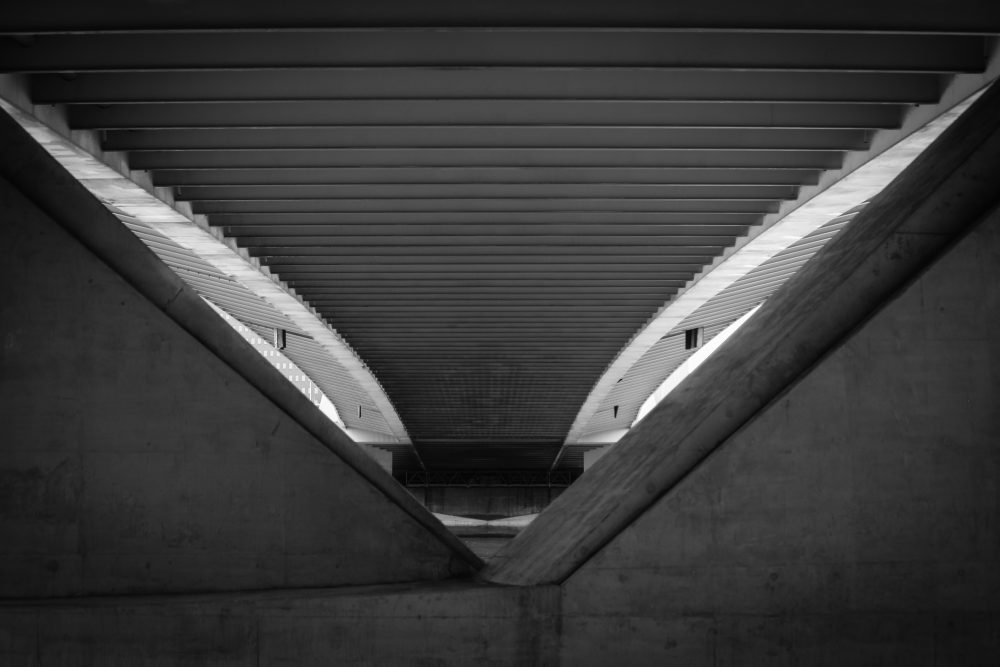
So I came up with the next shot, which is underneath the bridge, when I had just booked a ticket for a Spido ride, which takes you through the harbor area of Rotterdam. Which I can highly recommend you do! My settings for this shot were 1/100 sec, ISO 160, F 4.5, at 55 mm focal length.
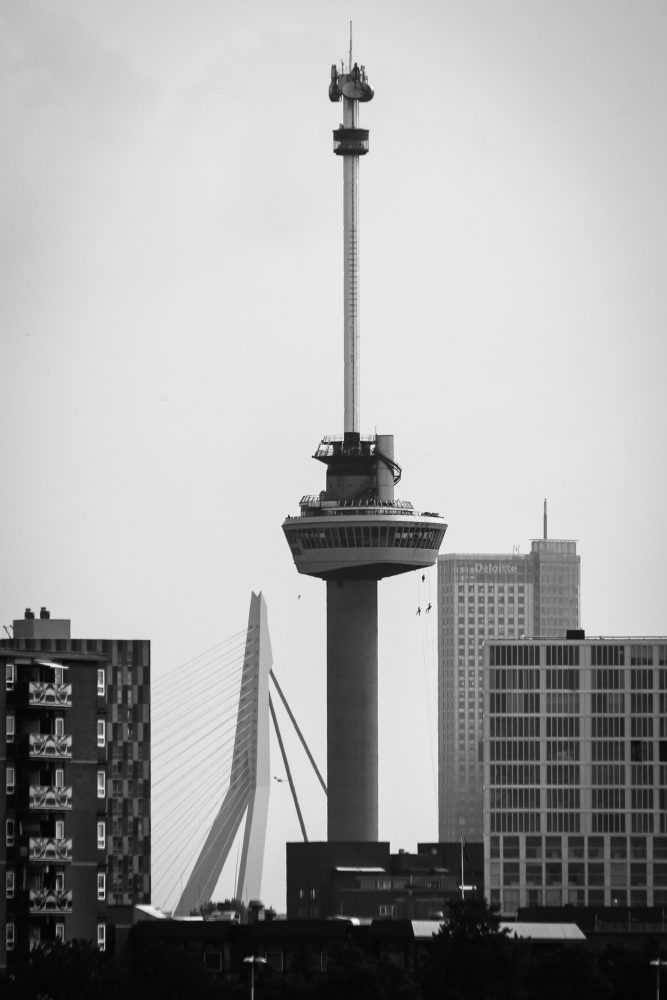
During my Spido trip, I happened to look back at some point, and I saw a view of the Euromast with people rappelling from it, and to the left I saw the Erasmus bridge sticking out, so I knew I would have an original image :). My settings for this shot were 1/1000 sec, ISO 100, F 5.6, at 171 mm focal length.
When I came back from the trip, I Looked at the bridge again, and really love the way the bridge curves above the Nieuwe Maas. So I took this image that shows the shapes and curves that make up the bridge. My settings for this shot were 1/160 sec, ISO 200, F5, at 116 mm focal length.

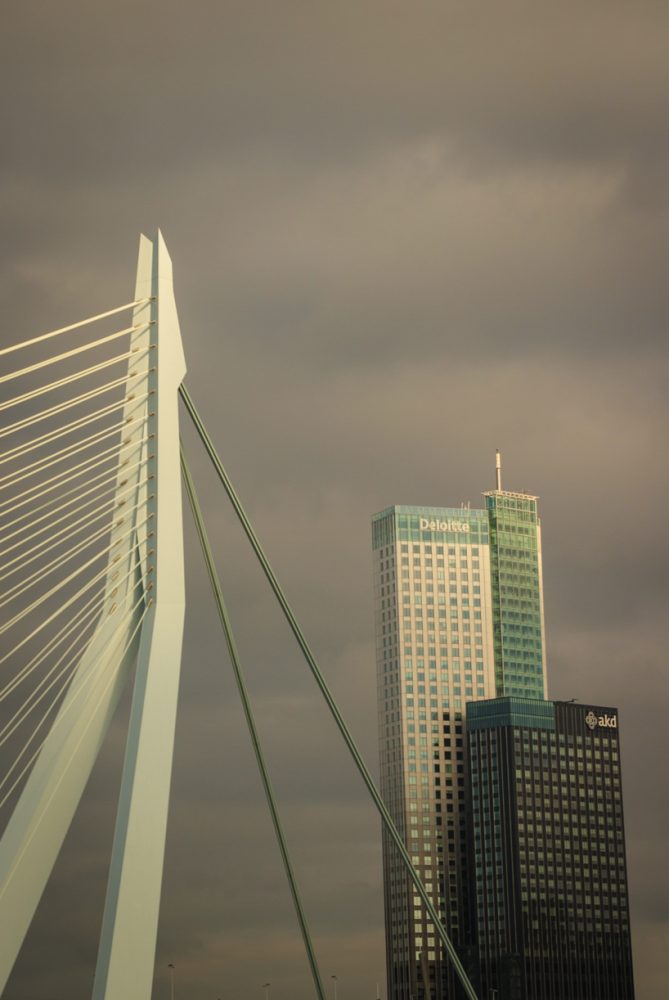
The last shot I want to show you from the Erasmus bridge was a photograph I took during another trip to Rotterdam.
The weather was really mixed with the sun shining through heavy clouds at some points, and I was lucky to get the next image, during one of those moments.
You can see the sun hitting the top of the bridge, while the bottom part was still covered in the shadow of a cloud. My settings for this shot were 1/1000 sec, ISO 160, F5.6, at 65 mm focal length.
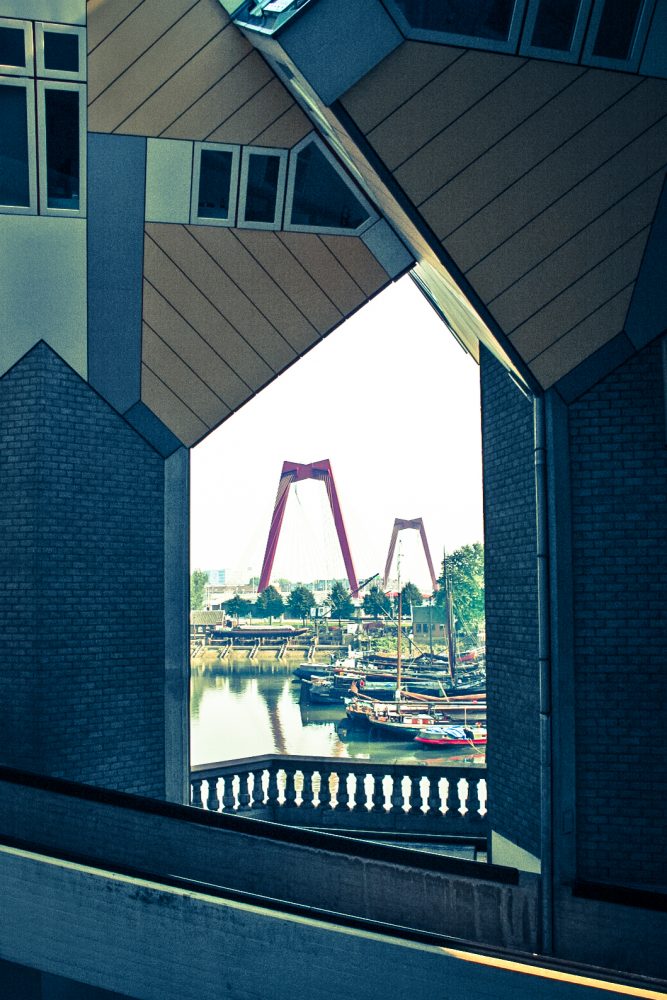
Another great bridge in Rotterdam, is of course the Willemsbrug, which lies further to the east, and connects Rotterdam Noord with Rotterdam Zuid.
During one of my photography trips to Rotterdam, I was photographing the Cubic Houses, when I happened to notice the WIllemsbrug sticking out between between two of them, so I framed the bridge between the houses and took the photograph. My settings for this shot were 1/250 sec, ISO 400, F10, at 18 mm focal length.
When my parents still had a sailing boat, we used to sail a lot on Haringvliet, and Hollands Diep.
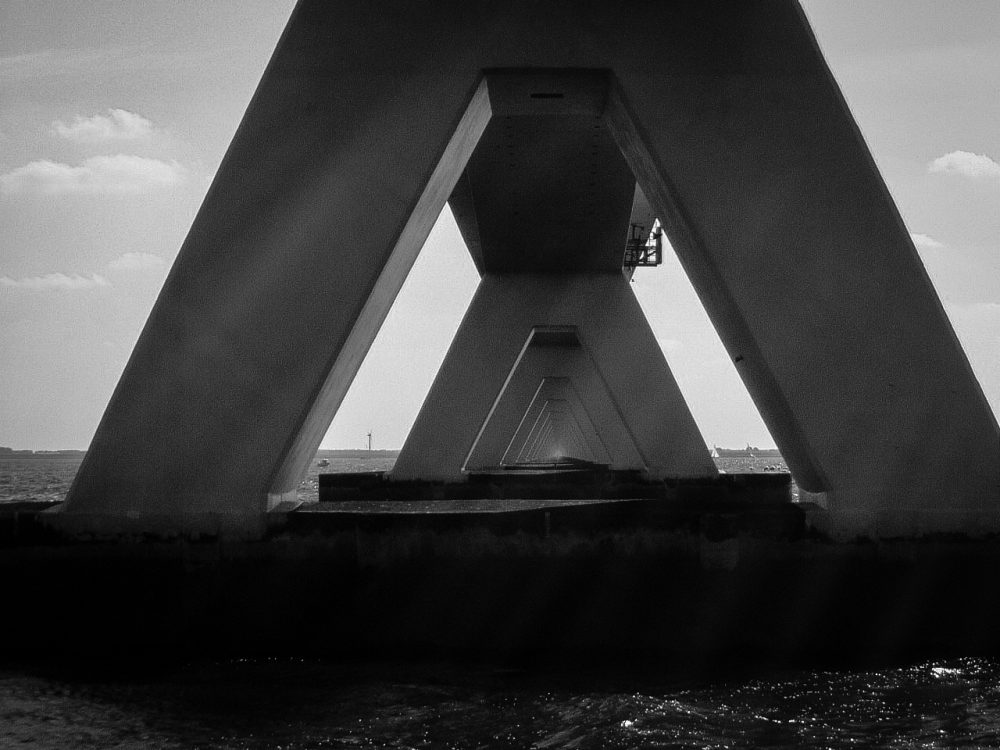
But sometimes we also sailed to Zierikzee, which meant, we had to pass underneath the Zeeland Bridge. So during a trip with some friends, we came across the bridge again, when I decided to take a photograph of the pylons.
The pylons of the bridge are perfectly lined out, which you can see in the next image, which I took with my Fujifilm finepix camera. It was very sunny that day, and this was just a point and shoot, so I had some issues with sun flares on the lens, but I still think its a nice photograph.
And here we are at the end of the post again.
As you can see, taking photographs of bridges can be quite cool, and the best thing is, you can focus on parts of a bridge, or focus on the entire bridge itself.
Remember to try out different angles and compositions to get the shot you want!
Just enjoy your hobby, and keep on taking photographs 🙂
I hope you like the post, so feel free to share on your social media, and leave a nice reply at the bottom!
Kind regards,
J.
Pingback: Architectural Photography tips for beginners and enthusiasts!